
Handbag Product Photography: Ecommerce Photo Guide for Bag Sellers
Handbags sell on details. Buyers want to see stitching quality, hardware finish, interior compartments, and how the bag looks when carried. A single flat photo of a handbag on a white background is not enough — you need a complete set of images that answers every question a buyer would ask in a physical store.
This guide covers the essential angles, styling techniques, and photography tips for selling handbags on Amazon, Myntra, and other Indian marketplaces.
Why Handbag Photos Need Extra Attention
Bags are one of the most returned product categories in Indian ecommerce. The top reasons buyers cite for returns — "looks different from the photo", "smaller than expected", "quality not as shown" — are all photography problems, not product problems.
- Size perception is tricky — a clutch and a tote bag can look the same size in a product photo. Without context, buyers misjudge dimensions and return the product.
- Material quality is invisible in bad photos — genuine leather, PU leather, canvas, and synthetic fabric all look similar in a poorly lit image. Close-ups showing texture and grain are essential.
- Hardware sells the bag — zippers, buckles, clasps, and metal accents are what buyers zoom into. Blurry or dark hardware shots make a ₹2,000 bag look like a ₹200 bag.
- Interior matters — buyers want to see compartments, pockets, lining colour, and zipper quality. A bag listing without interior photos loses trust immediately.
Essential Angles for Handbag Photography
Front View
Your main image. The bag should face the camera straight on, stuffed to show its natural shape, on a pure white background. This is the image that appears in search results and determines whether a buyer clicks.
Back View
Show the rear of the bag — back pockets, brand logos, stitching patterns. Many bags have functional back pockets that are a selling point but never shown in listings.
Side Profile
The side view shows depth and gusset width. This is critical for buyers judging how much the bag can hold. A bag that looks spacious from the front might be surprisingly narrow — the side shot prevents that surprise.
Open Interior
Open the bag wide and photograph the inside from above. Show all compartments, the zip pocket, card slots, phone pocket, and the lining material. Good interior shots are surprisingly rare in Indian bag listings, which makes them a competitive advantage.
Hardware and Detail Close-Ups
Zoom in on the zipper, buckle, clasp, metal logo, strap adjuster, and any decorative hardware. Sharp close-ups of well-finished hardware communicate quality faster than any product description.
Lifestyle Shot
Show the bag being carried — on a shoulder, crossbody, or in hand, depending on the style. This is the most powerful image in your listing because it helps buyers picture themselves using the bag. It also conveys scale naturally.
How to Style Handbags for Photos
Stuffing the Bag
An empty bag looks deflated and shapeless. Stuff it with tissue paper, bubble wrap, or a small towel to give it its intended form. The stuffing should fill the bag to its natural shape without overstuffing — you want it to look like it does when someone carries it with everyday items inside.
Positioning the Straps
Straps should be arranged deliberately. For shoulder bags, drape one strap naturally and let the other follow the bag's curve. For crossbody bags, show the full strap length in at least one image. Tangled or randomly placed straps make the entire listing look careless.
Showing Scale
Place a phone, sunglasses, or a standard wallet next to the bag in one of your secondary images. Indian buyers consistently say that unexpected size is their top frustration with online bag purchases. Solve this with one image.
Photography Tips by Bag Type
Clutches and Wallets
Small bags need macro-quality close-ups. Show the clasp mechanism open and closed, the card slots, and the coin compartment. Photograph against a clean white surface and ensure the product fills the frame — a tiny clutch floating in a large white space looks cheap.
Sling and Crossbody Bags
The strap is the defining feature. Show the full strap extended in at least one image, and include a lifestyle shot showing how it sits when worn crossbody. Highlight the strap adjuster and any padding on the shoulder section.
Tote Bags and Shoppers
Totes sell on capacity. Show the bag open from above, ideally with a few everyday items inside — a book, a water bottle, a scarf — so buyers can judge how much it holds. The structured vs. slouchy look also matters: stuff accordingly.
Laptop and Office Bags
Show the laptop compartment with a laptop inside (or the outline of one visible through the padded sleeve). Business buyers care about organisation — photograph every pocket, pen loop, and document divider individually.
The Cost of Handbag Photography
Professional handbag photography involves more setup than most sellers expect:
- Product photography — ₹300 to ₹1,000 per bag for white-background studio shots (5–7 angles).
- Model shots — ₹5,000 to ₹15,000 per session if you want lifestyle images showing the bag being carried.
- Styling and preparation — stuffing, steaming, and arranging each bag takes 15–30 minutes per piece. Across 30 SKUs, that is a full day of preparation alone.
- Editing — background removal, colour correction, and retouching costs ₹100 to ₹300 per image.
A bag seller listing 30 products with full photo sets can spend ₹30,000 to ₹60,000 on photography before the first sale.
Create Professional Bag Photos from Your Phone
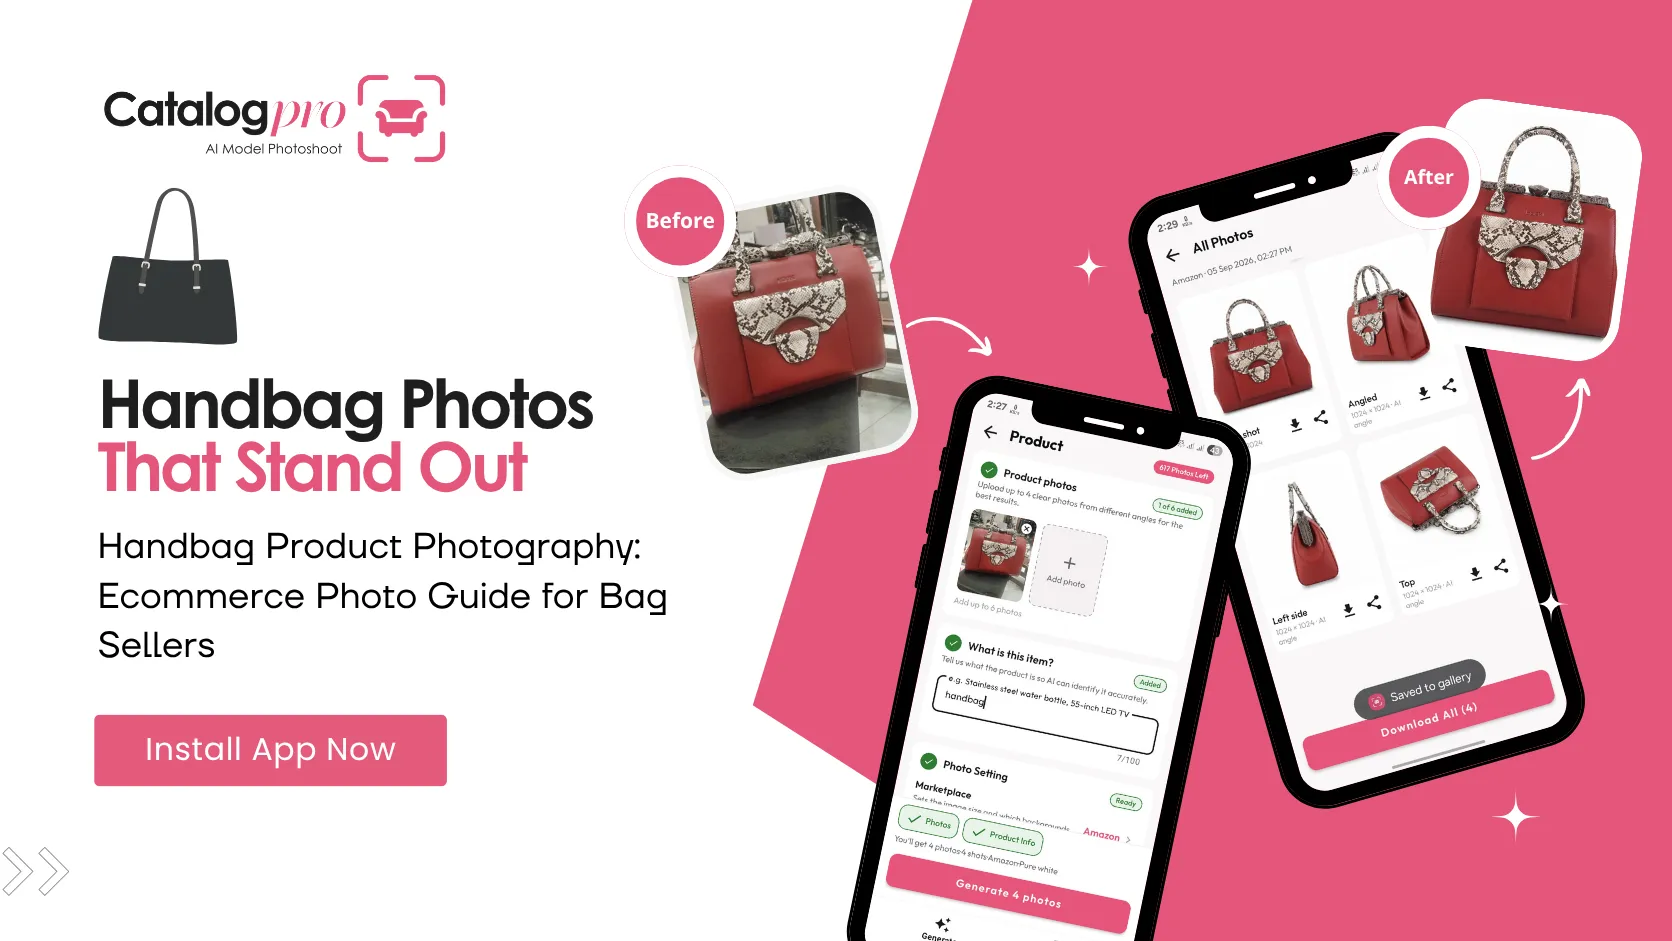
Catalog Pro helps handbag sellers create complete product photo sets without a studio. Take one phone photo of your bag, and the app generates professional images with clean backgrounds, balanced lighting, and the right dimensions for every marketplace.
Step 1: Photograph your bag
Take a clear photo of the handbag with your phone. Stuff it to its natural shape, place it on any surface with decent lighting, and make sure the full bag is visible.
Step 2: Choose your marketplace
Select your target marketplace — Amazon, Myntra, Flipkart, or Meesho. Catalog Pro applies the correct background, dimensions, and format for each platform.
Step 3: Download your photo set
The app generates multiple professional views of your bag. Download and upload directly to your seller dashboard. Every image meets marketplace requirements.
Handbag Photography Checklist
Before listing your bags online, verify these essentials:
- Main image shows the bag from the front, stuffed to natural shape, on a white background
- At least 6 images per listing — front, back, side, interior, hardware close-up, and lifestyle
- Hardware details (zippers, buckles, clasps) are sharp and well-lit
- Interior compartments are clearly visible
- Scale reference is included in at least one image
- Strap is shown at full length for crossbody and sling bags
- Colours are accurate across all images
- Images are at least 1000px on the longest side
Start Selling More Bags Online
Handbag buyers make quick decisions based on photos. A listing with comprehensive, well-styled images builds trust and reduces returns. A listing with a single blurry photo gets scrolled past.
You do not need a professional photographer or a studio to create great handbag listings. Take a phone photo, let AI handle the backgrounds and lighting, and focus on growing your bag business.
Ready to Try It?
Download Catalog Pro and create professional handbag listing photos in under 2 minutes.
Download Catalog Pro — Free to StartMore Tips for Sellers
Amazon Product Photography Guide for Indian Sellers (2026)
Everything you need to know about Amazon image requirements and creating professional listing photos.
Jewellery Product Photography: Complete Guide for Online Sellers
How to photograph jewellery for Amazon, Meesho, and other marketplaces.
Shoe Product Photography: Ecommerce Photo Guide for Footwear Sellers
Essential angles, lighting tips, and how to create professional footwear photos.